How To Make Meme Graphics with PowerPoint
How To Make Meme Graphics with PowerPoint
Making memes and other images is a critical part of social media marketing and digital communications in today’s age. If you have Microsoft Office you can use PowerPoint to make memes and other images with text, shapes, shadow effects, and transparency quickly and easily.
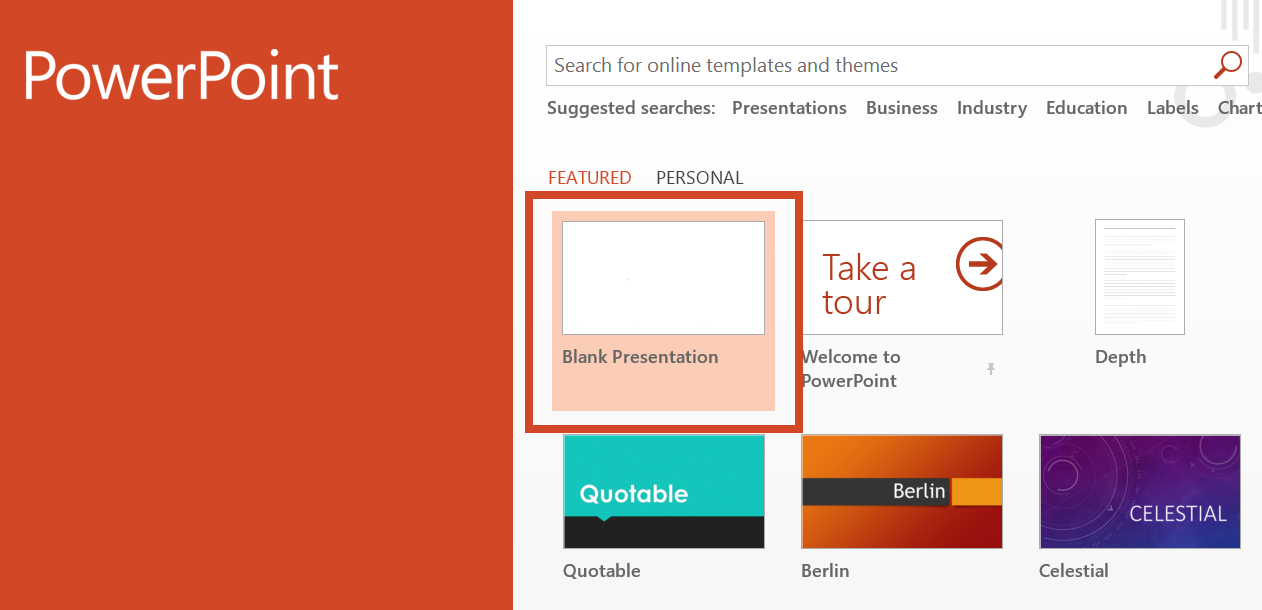
1. Start with a blank white template
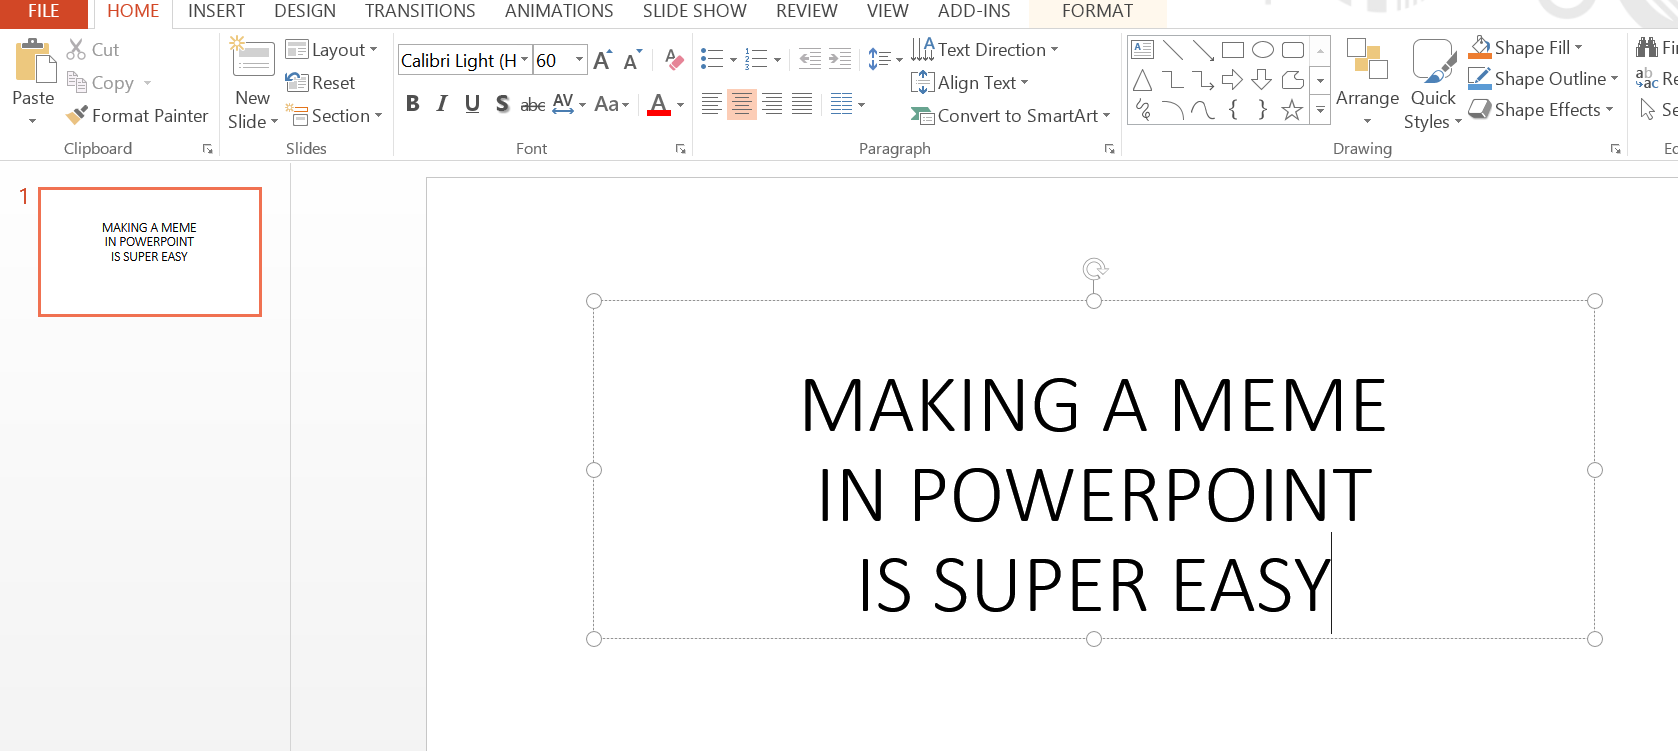
2. Create your meme
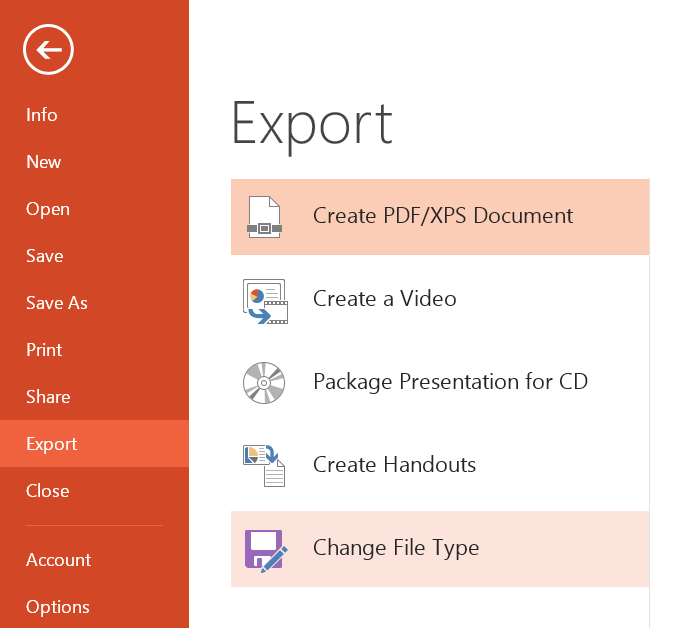
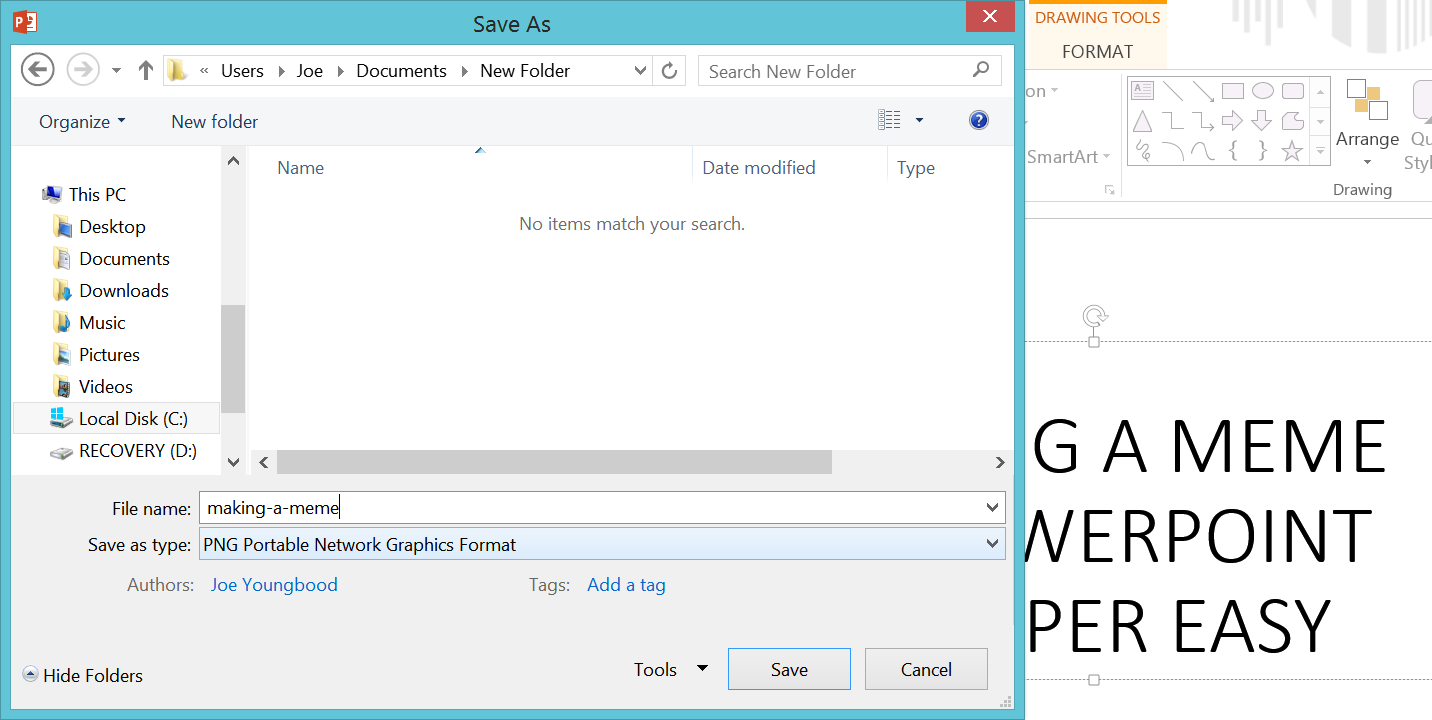
3. Go to File > Export > Change File Type
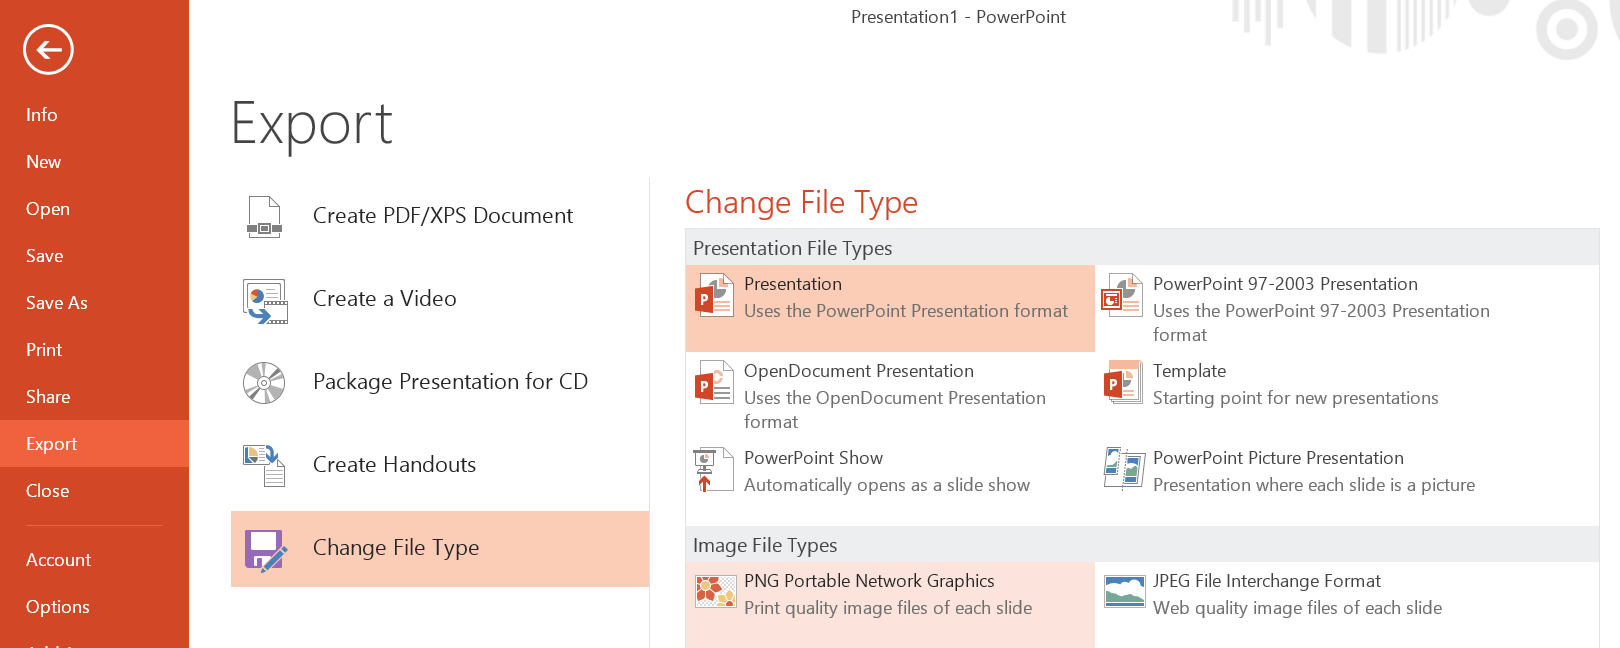
4. Double Click on “PNG Portable Network Graphics”
5. Name your file and save it.
6. If you want to make your image smaller you can always load the image you created in PowerPoint into a basic image editor like Paint and crop out any unwanted white space in the background.
You can also add in images, shapes, and adjust the opacity of layers to make your images more appealing or highlight specific messaging.
To add a shape behind your text with transparency follow these steps:
1. Go to ‘Insert > Shapes’ in the top menu and select your shape.
2. Draw the shape into your image and adjust the sizing to your liking.
3. Right click on the shape and select “send to back”
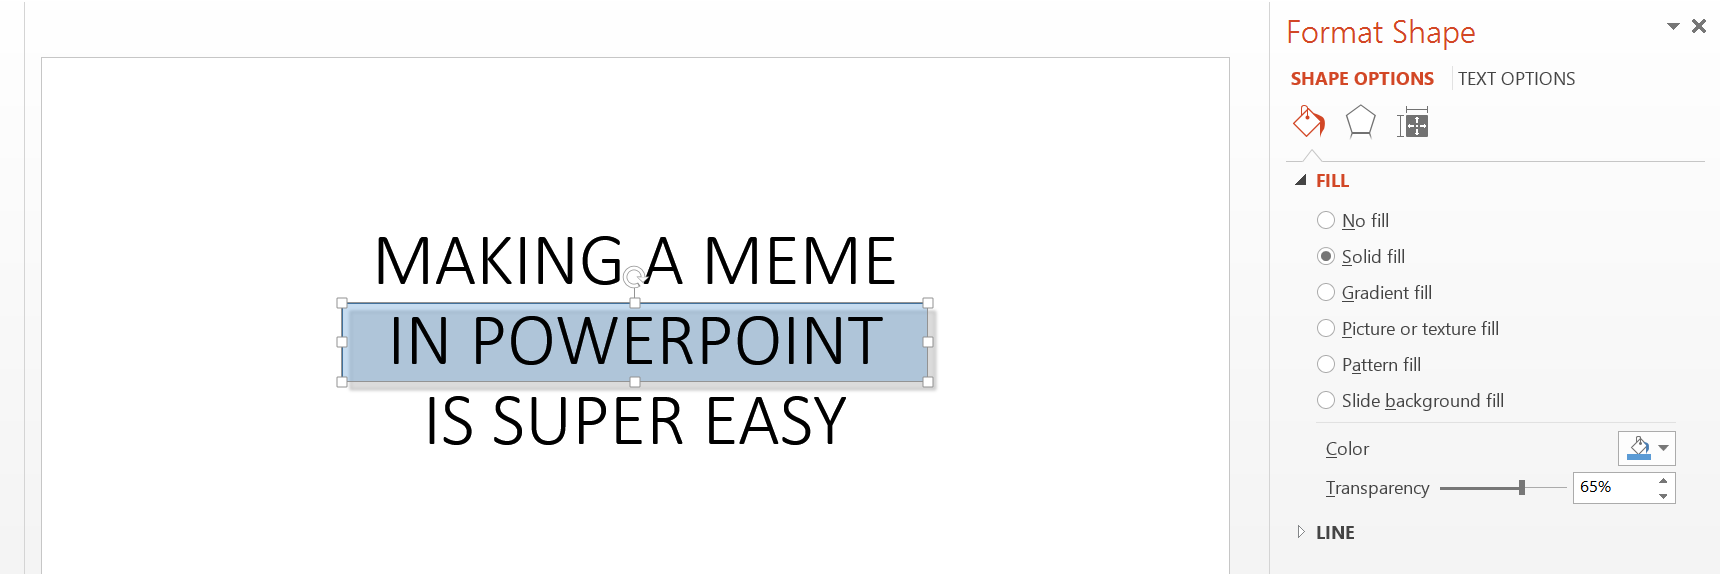
4. Right click on the shape and select “format shape”
5. In this panel you should be able to adjust the transparency of the shape and the shadow. In our example we’re setting the transparency to 65%
6. To add a shadow select the shadow panel in the “format shape” settings and select the first preset. Then set the distance to “9 pt”
7. Once you’re done follow the earlier directions to export this as a PNG image.
Latest posts by Joseph Youngblood (see all)
- How To Make Meme Graphics with PowerPoint - November 15, 2016
- The Local Business Tip Blog - November 2, 2016